
Mining Rig Build Guide-19 GPU
STEP 2 / 安裝 Mobo主機板底板
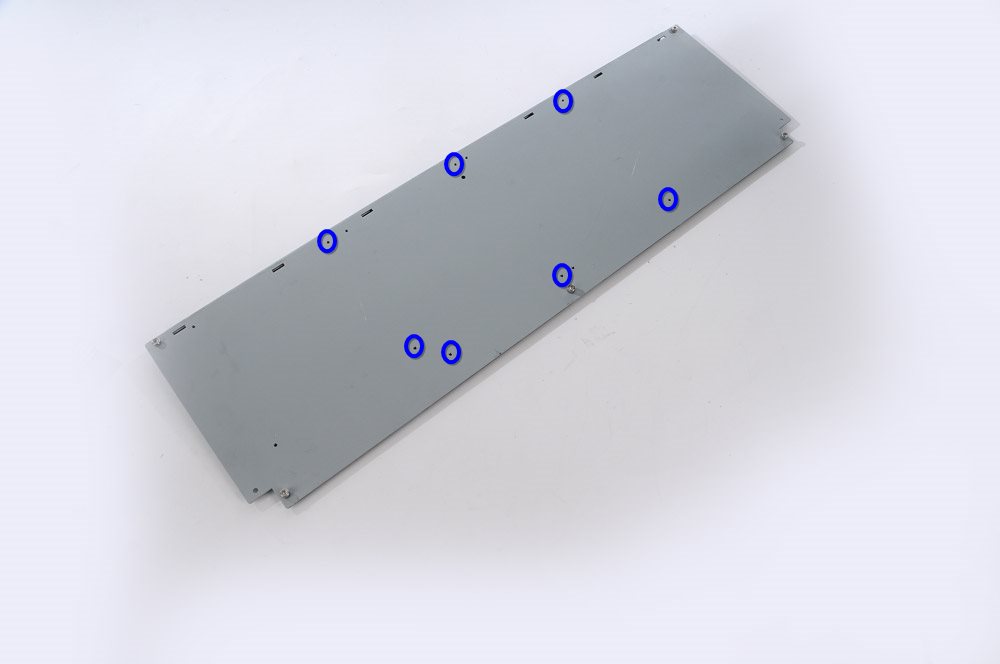
2.1|於主板鐵板(零件編號06)安裝銅柱(零件編號20);雙電源配置,請將主機板安裝於鐵板中間,電源則分別安裝於主機板左右。
2.1|To install copper pillars on mobo plate. There will be seven pillars needed for each plate.
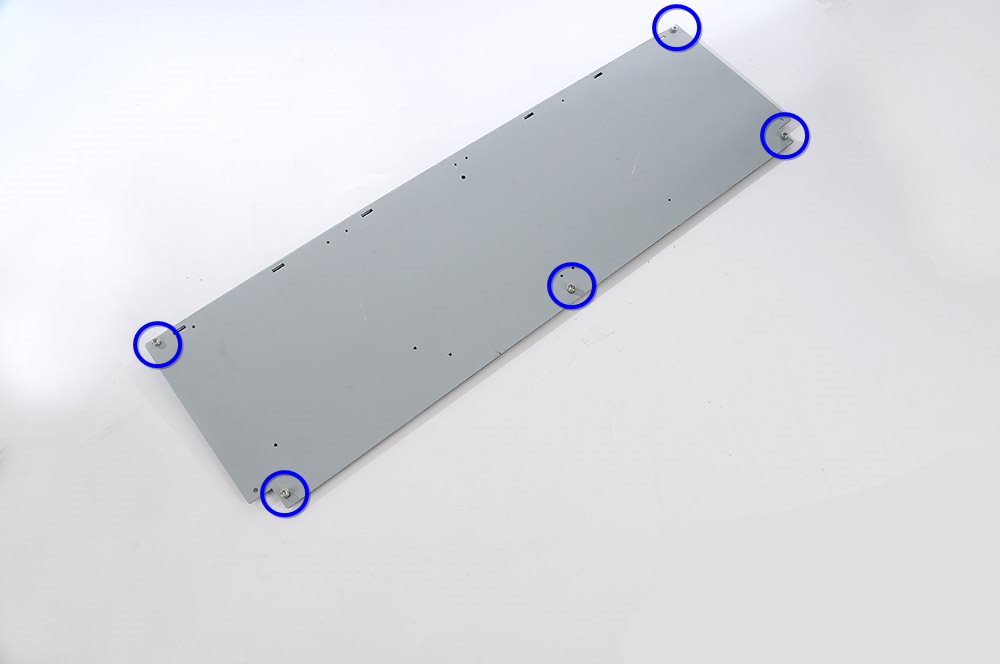
2.2|於主板鐵板(零件編號06),使用內六角螺絲(短)(零件編號10)以及M4滑塊(零件編號15)組裝出鋁擠條固定點,共5組。
2.2|Use a M4 Hexagon screw A and a M4 insertion nut to compose a fixed point on Mobo plate, there will be 5 fixed points needed.
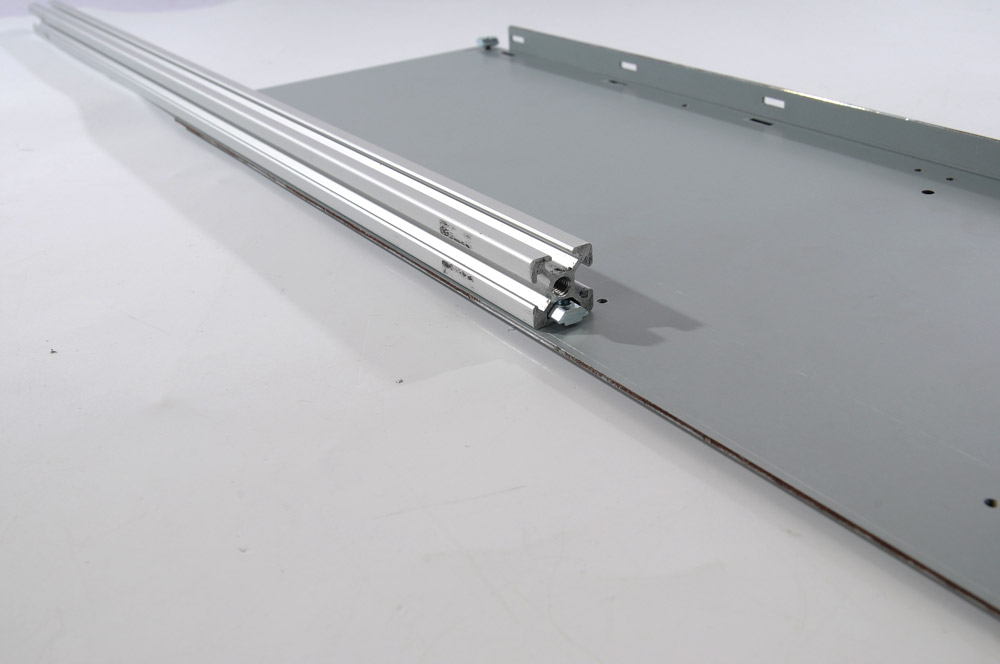
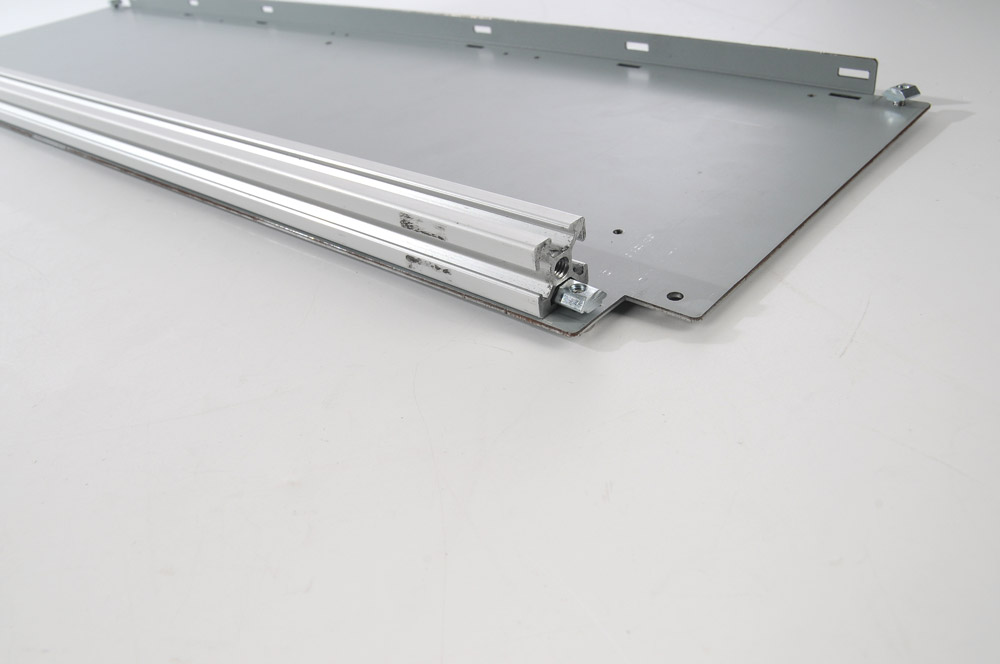
2.3|將鋁擠條 60cm(零件編號04)從中間穿過鋁擠條固定點。
2.3|Aluminum Extrusion 60cm goes though fixed points on the middle.
2.4|使用內六角螺絲(短)(零件編號10)以及M4滑塊(零件編號15)將電源固定鐵片(零件編號17)固定於主板鐵板前端的鋁擠條 60cm(零件編號04),在此步驟請勿鎖緊,使電源固定鐵片(零件編號17)可在鋁擠條 60cm(零件編號04)的前緣軌道自由滑動,共完成4組。
2.4|Using four M4 Hexagon screw, four M4 Insertion Nuts and four psu connectors to compose four psu connecting components. Please lock these M4 Hexagon screws gently, keep these psu connecting components sliding freely in front edge track.
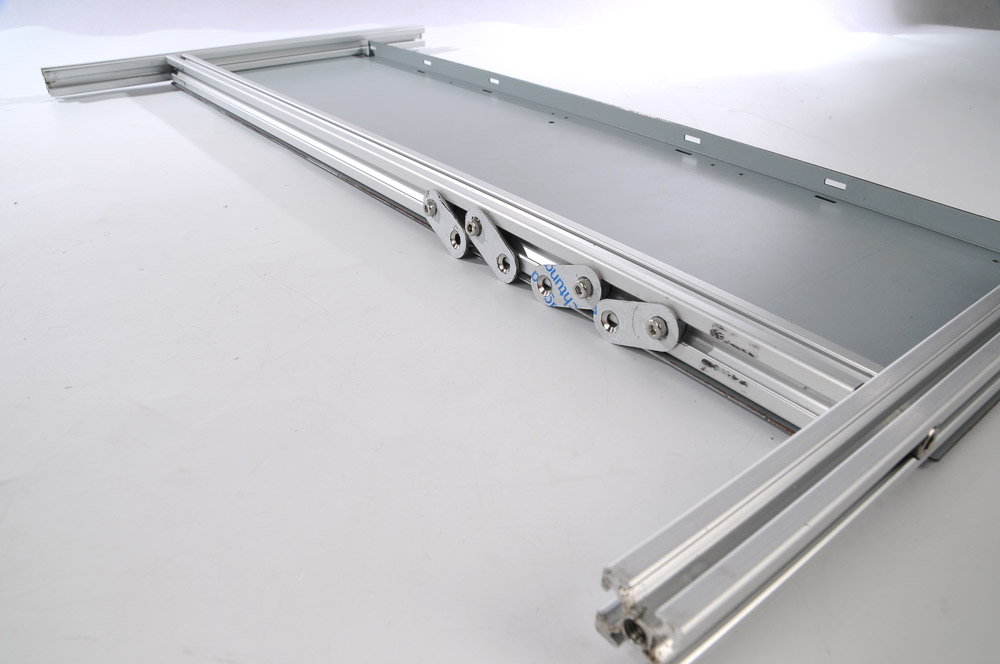
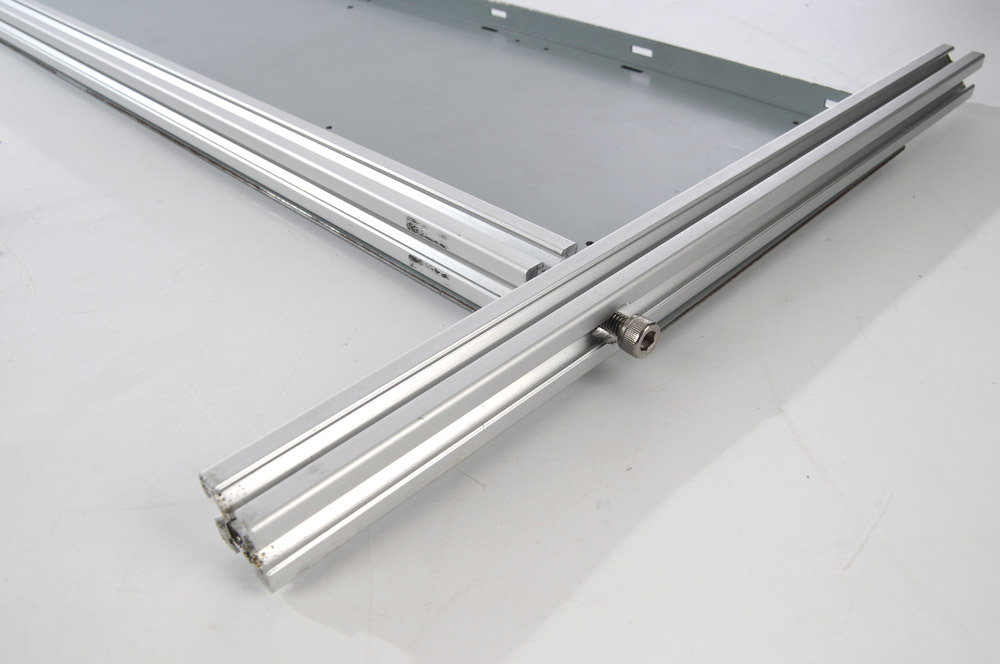
2.5|將鋁擠條 35cm(零件編號05)由側邊穿過鋁擠條固定點(左右二側皆是),後對準鎖孔並使用M6螺絲(零件編號24)鎖緊固定鋁擠條 60cm(零件編號04)及鋁擠條 35cm(零件編號05)。
2.5| Using two Aluminum Extrusion 35cm goes though the fixed points on both side, then using M6 screws to lock up these Aluminum Extrusion bars.
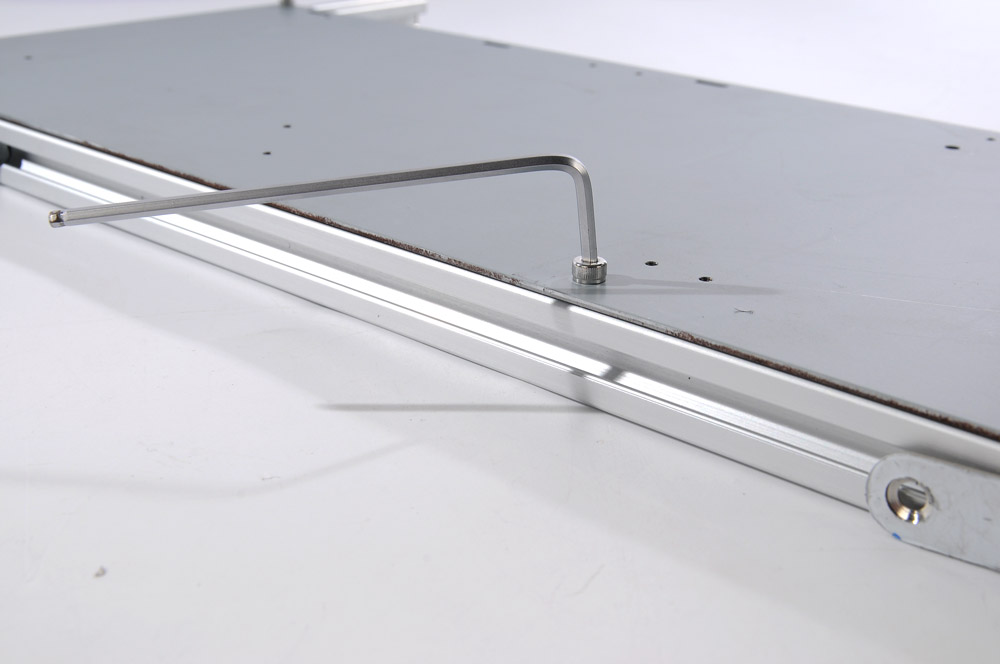
2.6|以M4內六角螺絲扳手(零件編號26)旋緊主板鐵板(零件編號06)上的內六角螺絲(短)(零件編號10),共5處。
2.6|Using M4 hexagon key to tighten five M4 Hexagon screws A on the Mobo plate.
-
 裝備要 Hyper,價格不用 High!HyperX 鍵鼠耳機暑期組合限量 $2,990!on 2026-07-24
 -
 別讓 CPU 在夏天發燒!買 TRYX STAGE 360 ARGB 雙螢幕水冷,送全漢 MIT 白金電源!on 2026-07-24
 -

-
 堅持幫玩家撐起一片天!酷!PC【浮空島】【觀星台】【飛行石】正式登場。on 2026-07-23


